


Ivan
-
Posts
944 -
Joined
-
Last visited
Content Type
Profiles
Forums
Events
Posts posted by Ivan
-
-
This probably breaks some rules. But in the spirit of the original post, I DON'T CARE BECAUSE IT'S A TRANSLUCENT MINIMATE PUNCHING ANOTHER TRANSLUCENT MINIMATE IN THE FACE!
RULES ARE MADE TO BE BROKEN! THEY ARE FOR THE WEAK AND LAME! IF YOU CAN'T HANDLE A SERIES OF 3D RENDERED IMAGES TURNED INTO AN ANIMATED GIF AND PROPERLY SCALED AS TO NOT TURN INTO A BURDENSOME DOWNLOAD, THEN THERE ARE NO WORDS THAT CAN SAVE YOUR SORRY SOUL. GO BIG OR GO HOME!
Namaste.
-
I'm working on something related to that in my spare time.

Likewise

-
Stay strong my friend.
-
Oh, and Ivan -- can I send you a non-melted B-9? That photo is... unfortunate.
Nah, don't worry about it. I've got another one on order already. New photos should make it into the next update. The Minimate really doesn't look bad in person. I only noticed the droop when I started editing the photos, but by then there wasn't much I could do. Thanks.
-
-
Has it been stated whether these will be black and white like the movie was, or if they'll have normal color too? I know NECA did both with their line a while back.
That hadn't yet been decided when I asked Chuck at SDCC. Full-color, spot-color, or B/W, it was still up in the air. I think he mentioned they'd be a both TRU and Specialty.
-
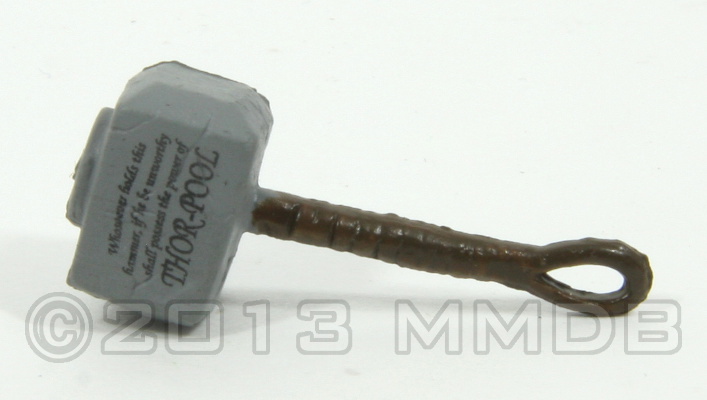
Actually it's "unworthy".
-
Whoa, I didn't realize FormLabs was shipping already. I remember hearing about their Kickstarter campaign, but I thought it was going to be a while before they would be shipping units. (Of course my only real Kickstarter experience involves a long delayed "Agent" production, so probably not the best basis of comparison.
)I love the resolution of stereolithography. No sanding needed is a huge plus. I can't wait to see where you go with this.
It seems like I'm always plugging Blender, but it's great for mechanical modeling. It has a bit of a learning curve, but that's true of any 3D program in my experience.
-
Still waiting on printer replacement parts to arrive. Might as well go back to modeling...
-
Wow, that was a surprise. Not Donny winning, that was a given
, but me even placing. Thanks everyone. There were so many cool entries.I had no idea so many people had exposure to stained glass. Hopefully my ugly solder lines weren't too noticeable. I thought my electronics experience would help with that, but this required a whole new technique that I'm far from mastering.
Thanks also to Lurch and Zach (and anyone else I'm so rudely forgetting) for putting this together. Great stuff.
-
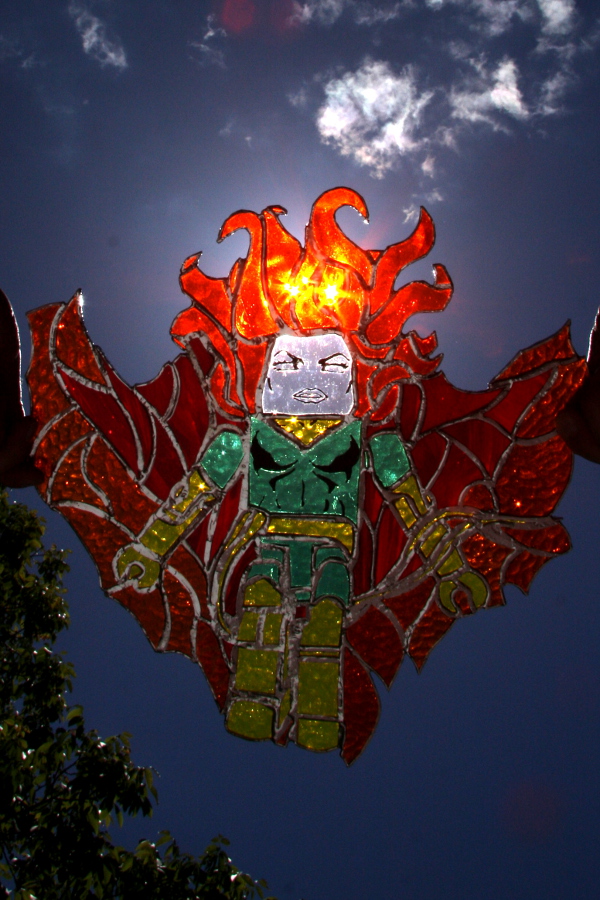
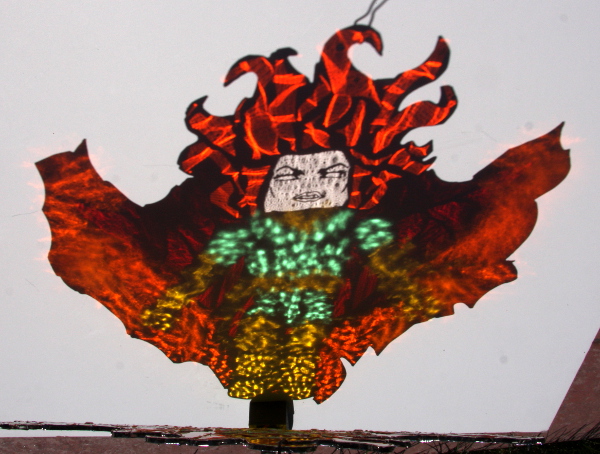
I've always wanted to get into stained glass work and this contest seemed like just the right push. Like Phiz (great Galactus entry btw) I started shortly after the contest was announced. Anyway, here's my entry, Stained Glass Phoenix.
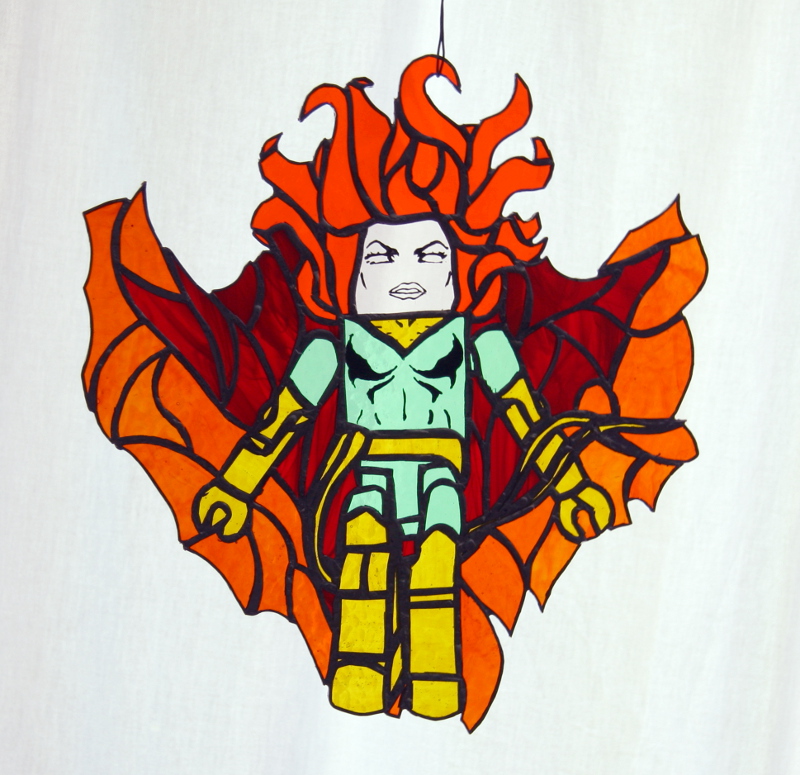
And a few more beauty shots:

-
I apologize to all those of you waiting on PM responses from me. I try to keep those up to date, but I haven't been logged in for a while. I'm sorry, I'll try to catch up this weekend.
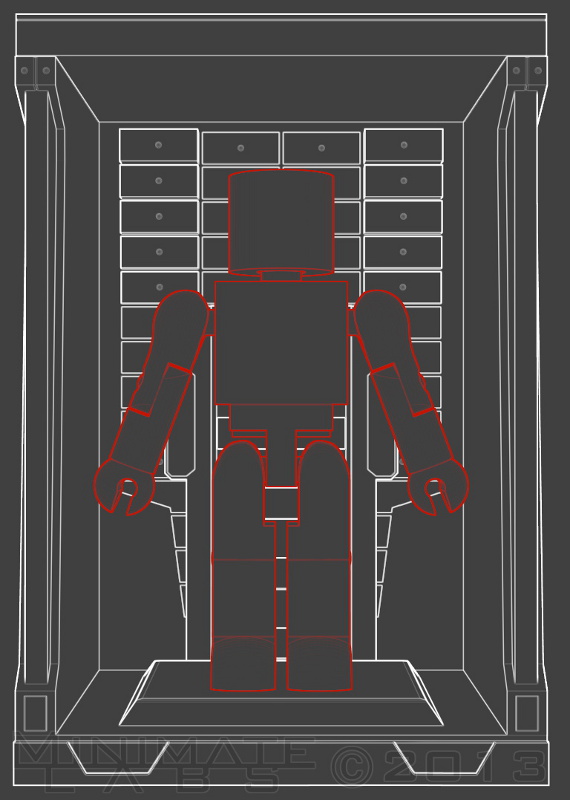
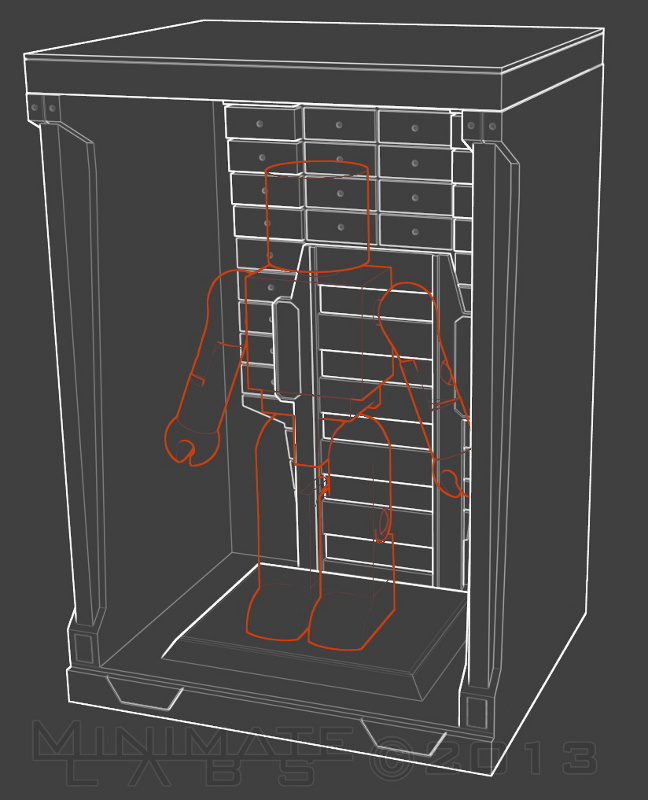
Similarly, there hasn't been a lot of progress on the large 'mate. I think I mentioned in a previous post about printing pegs and pins separately. It was originally out of necessity, but it paid off in a way I didn't expect. You see I had to refine the models quite a bit from the original Minimate I use for the 3D renderings. The joints weren't tight. I have to enlarge 2% here and shrink 3% there. But instead of printing say a whole new lower arm, I just have to print another pin and see how it fits with the upper arm. It's a huge time savings.
Here are the latest pics:
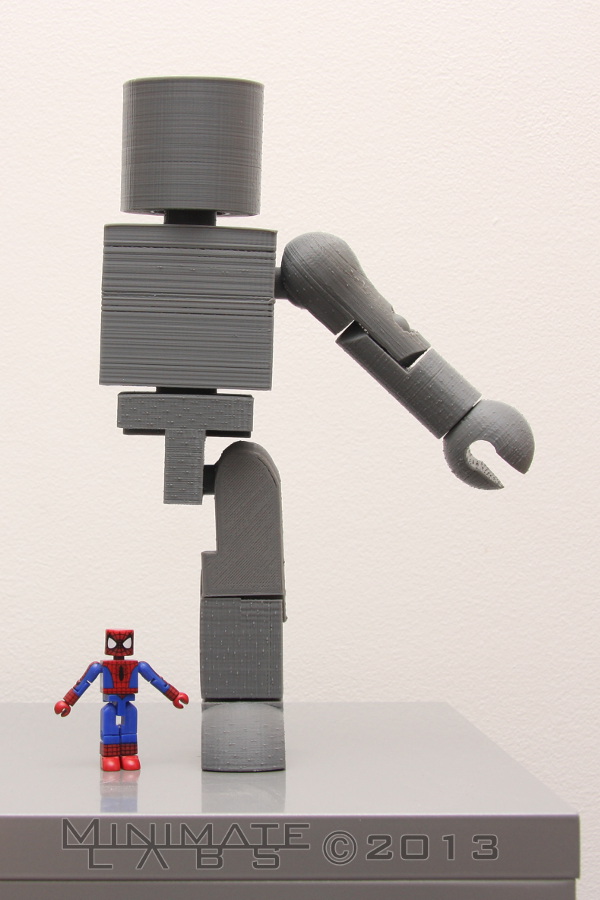
(Looks like that hip peg is a little long...)
-
Ah, I don't think he's eligible. If I had only waited a few weeks before posting pics.Well, if Ivan enters his giant minimate, we will all be competing for 2nd place

Nevertheless I have a few 'arty' Minimate ideas that have been brewing for a while. This contest seems to be the perfect opportunity to get started.
-
Crap, I was hoping you'd have enough to last 'till SDCC.
No, I think those are all gone. If I find a box, I'll see if I can give them out, but unlikely.Will there be any 10 years anniversary blanks?
-
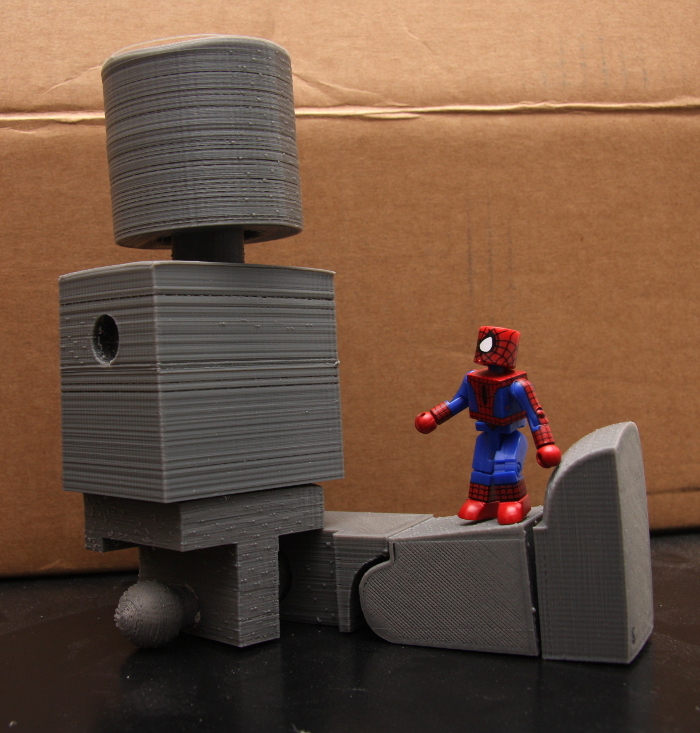
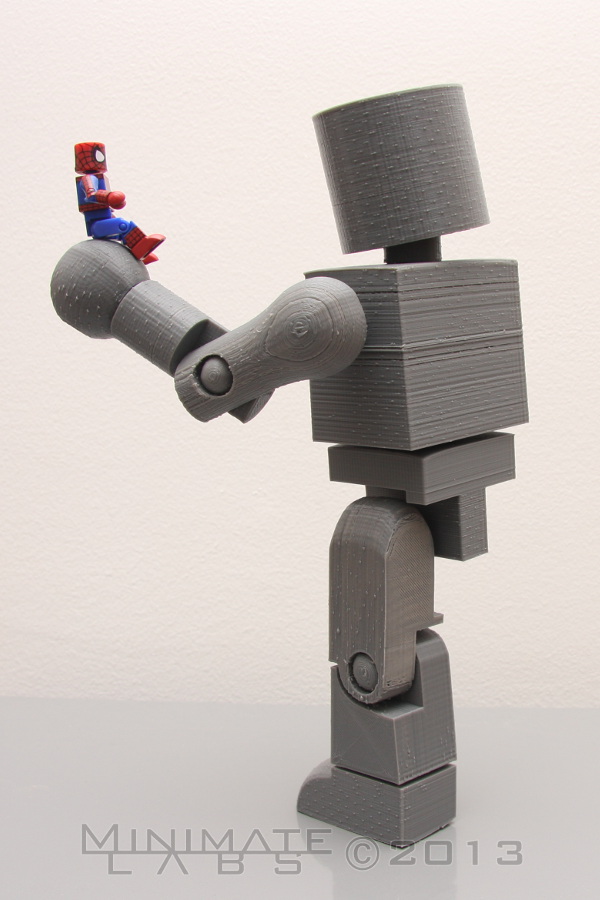
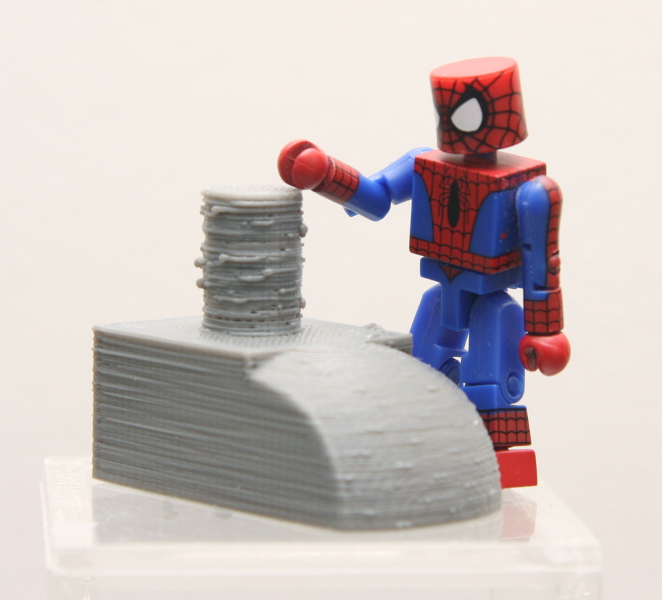
I've had a few minor setbacks in this project. In an effort to reduce the little blobs (you can see them on the hip piece) I tweaked the power going to the extruder motor. That ended up making it worse. The plastic flow is now inconsistent, resulting in the missed lines in the torso and head there. Just got to find that happy medium.
You'll notice there are no shoulder pegs on the torso. I'm printing those separately and attaching them later. The glues I have on hand aren't up to the task, and there doesn't seem to be a consensus on what works best for PLA.
The last setback is the weather. It's been rather nice around here lately so my free time has been spent working on the yard. I don't have a farm or anything, I'm just paying now for all the neglect last season. On the plus side, there does appear to be rain in the forecast...
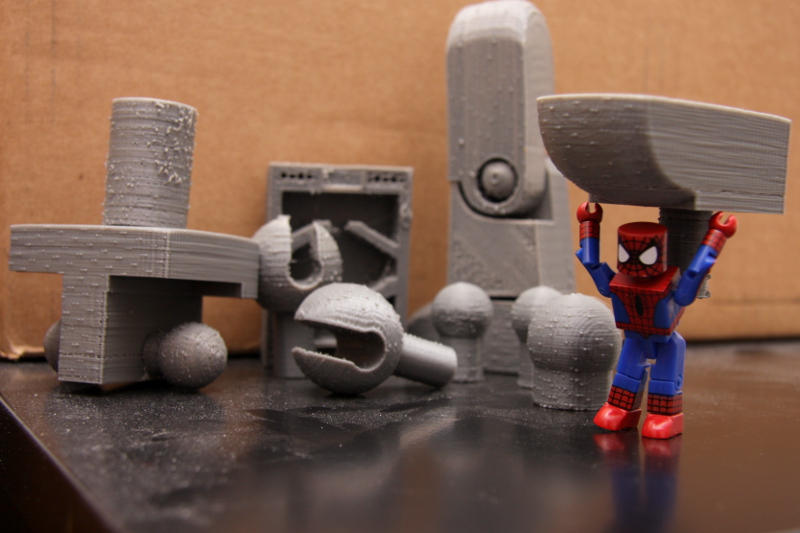
Thanks for all the interest everyone. TBT, the modeling is actually the slowest part for me. Mechanical/Hard modeling, like the Minimate, I can do. Organic modeling, like the hairpieces, are difficult for me. I've looked a bit at 3D scanners but haven't jumped in. There's one out there where you use your own camera and laser then feed the video into software which generates a rough model. I've downloaded the evaluation but none of my cameras shoot video well enough.
Boyd, I actually modeled a hollow head with separate lid piece. I figured it would be a good place to store emergency tacos.
-
These are all PLA plastic. Other printers will do ABS plastic or both, but PLA suits my purposes for now. It's tough to say how much each piece is costing right now. The roll of plastic was around $35 (US) and so far I've only used 25 to 30%. That includes all the calibration prints, failed prints, and various mounds of extruded plastic. Raw materials is probably less than a buck a piece right now.
Hopefully this latest pic shows up, my hosting provider is moving my sites to a different server and things seem to be a little wonky.
EDIT: I'll just trying uploading it to MMMV for now and sort it all out when the move is done..
RE-EDIT: direct link enabled
-
And Amy at DST HQ also fell victim to the Database's tricks. She actually couldn't answer a couple of them, and asked me to let Ivan know she was not a robot.
This put a big smile on my face. I hope you asked her why she wasn't helping the tortoise in the desert.
-
Meant to post this last night after catching up on posts and PMs, but sleep took precedence. (I miss the days when I could do this from work without needing to hide it.)
These pieces are straight off the bed without any sanding or cleanup. Obviously my parameters need a few more modifications. The fit is pretty loose on all the parts. I had modified my models for printing at shapeways to compensate for shrinkage, but when I scaled up to 500% those modifications were also scaled. I should have realized, but it didn't even cross my mind.
I was concerned about the holes in the upper leg, but they bridged nicely at the top. Not perfect, but it wasn't a blobby mess like I feared.
Next up is the hip piece, but I can't see a way to print that all in one go. I'm going to have to separate the center peg and ball joints then assemble them later. Soldiering on...
-
Sorry, I just realized I did something in this thread that bothers me when other people do it. I teased. Twice. No one likes a tease. As penance, I shall do the Harlem Shake naked in front of my living room window.
There, done.
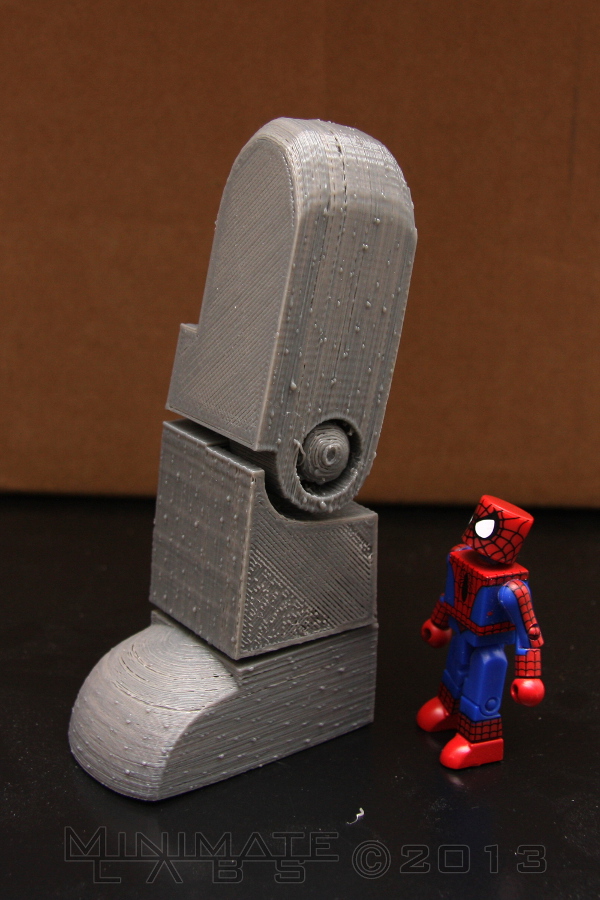
And you're right TM2 it's not from Shapeways. Their prints are so much nicer than this. Some time ago I even priced out what jumbo-mates would cost from them and it just didn't make sense financially. So I went ahead and spent X times as much for my own 3D printer. Assembly was fun. Calibration was not. But I think I've got it dialed in now. It's currently sitting next to me printing another foot that's much less blobby* than that Spidey photo. Nonetheless, my next purchase is going to be a decent bench sander to clean things up with. Either that or a camera I can shoot some time-lapse with. I'll keep you all apprised.
*technical term
-
That's still several months away unfortunately. I've been preoccupied with some new shinys.I just wondered when we're going to see that slick new design for MMDB. [url=http://www.minimatemultiverse.com//public/style_emoticons/default/whistling.gif]http://www.minimatemultiverse.com//public/style_emoticons/default/whistling.gif[/url]
Ouch, I just looked at the prototype folder, it's titled "siteRevamp2011". I should just stop making promises.
-
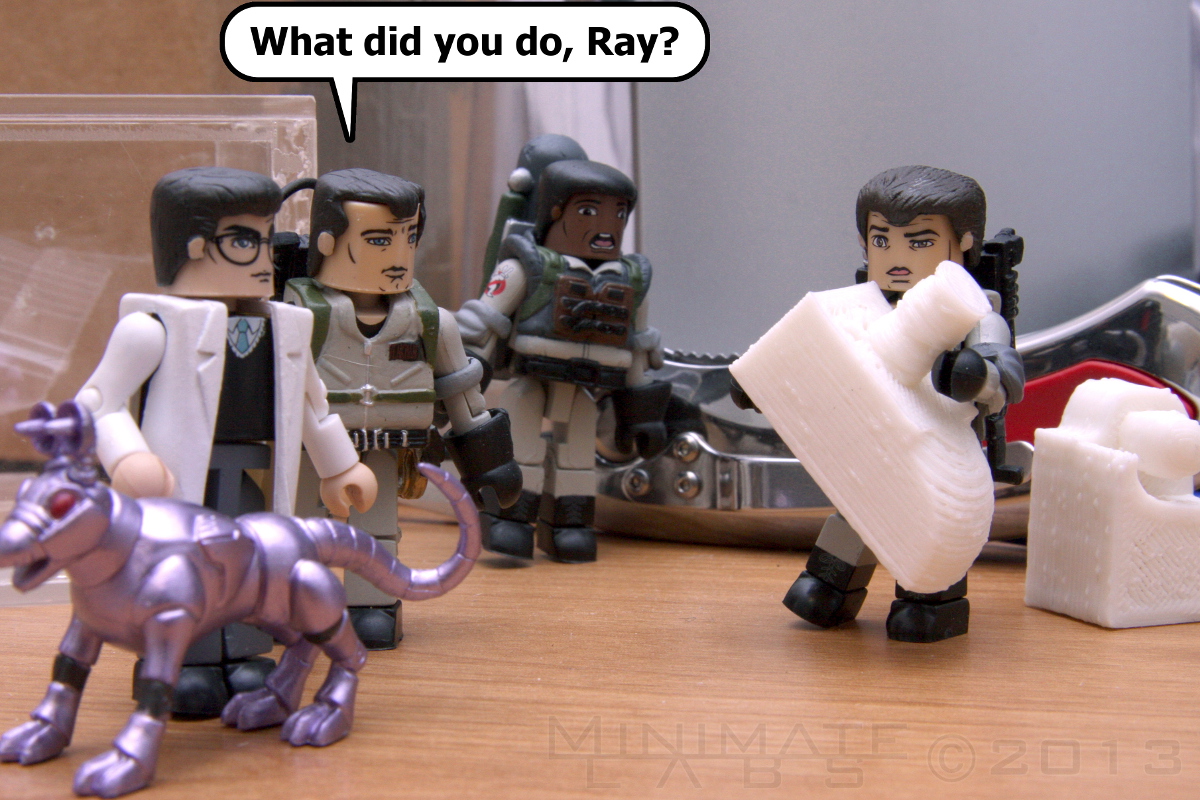
Oh, nothing...
-
-
If anyone needs me, I'll be cowering in the boiler room.
It's getting too crowded in the boiler room. I'm heading to the crawl space and I'm taking my pointy stick with me.
-
Not to pollute the C2E2 thread, but I now have a great cosplay idea for SDCC.Faux sideburns?


![http://www.minimatemultiverse.com//public/style_emoticons/default/whistling.gif]http://www.minimatemultiverse.com//public/style_emoticons/default/whistling.gif[/url](https://www.minimatemultiverse.com//public/style_emoticons/default/whistling.gif%22%5Dhttp://www.minimatemultiverse.com//public/style_emoticons/default/whistling.gif%5B/url)
Happy Birthday Ivan!
in The Minimates' Arms
Posted
Thanks all. I'm not on the board as much as I'd like to be, but I really appreciate the sentiments.
Cheers.